Seeming as it's almost tomorrow, I'm going to officially say that we are on
DAY 30 of our LOA wait! THIRTY!!! 3-0! Whew, it's been the longest, quickest 30 days of my life. Ha!
I feel like I've been doing pretty well with this last-unknown-duration wait. Plenty of things have been occupying our time, like getting a Kindergartener and a First grader ready for school (eek!!!), building a new princess bed for Oakley's new bedroom, and getting the room for the boys ready. None of that is completely finished, which means I
should have plenty of 'stuff' to keep me busy for the next few weeks of wait.
There have been a few rough days, where it feels like there is this
hole in my mama-heart just waiting for our little guy to fill. So many emotions...nerves, excitement, worry, love, fear, joy... kind of like the movie Inside Out, with ALL of the emotions going nuts at the drivers seat AT. THE. SAME. TIME.
With all of that being said, I am sincerely trying to live each day, experience
each day the Lord has blessed me with, and enjoy every minute of this process. I know it's true that the next three months will go by in the blink of an eye, and before you know it, we'll be a united family of five.
Prayer Requests:
-As always, Z. His preparation, transition, and knowledge of his new family and new life
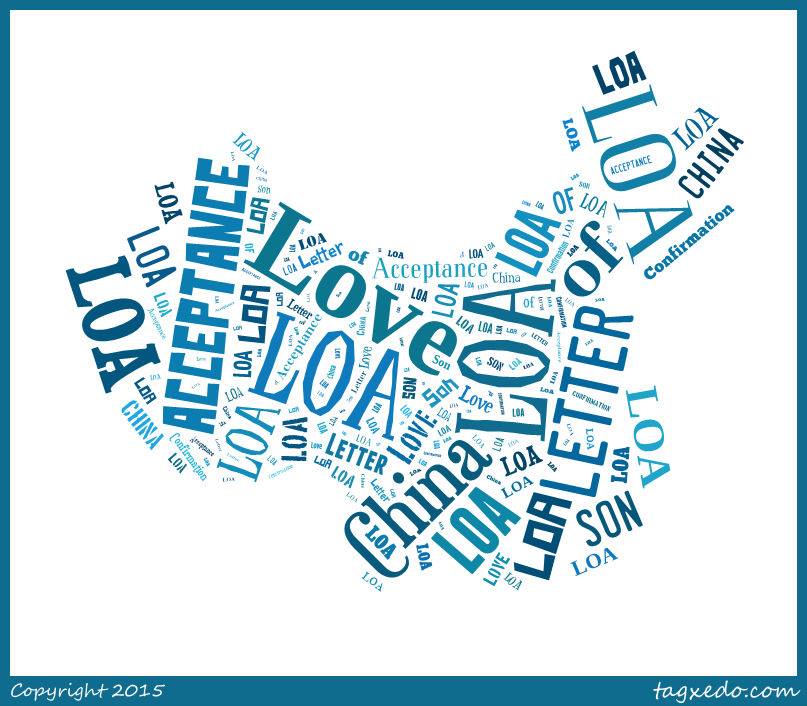
-Our LOA. This is the Letter of Acceptance from the Chinese government. We'd love to have this by mid-August, which would let us travel in November. After we get our LOA, we'll begin the private Facebook page where we'll be able to share much more information about Z.
-My friend, Gina. We'd love to travel together! As selfish as it is, I want our paperwork to stick together like glue so we can finish this great process together.
-Finances - the need hasn't changed, but the date has gotten closer. HE is always in control, and I'm still trusting that!
Thank you for going down this road with our family!!