12.20.2011

All Aboard the Polar Express!!


Toot tooooooot!!!!!


I have to admit, I've never seen the movie. I probably should. Pretty soon my kids will be to the age where they'd find that mesmerizing! In fact, not too far from our town, there's a place that reenacts the Polar Express, complete with a train ride to the North Pole (you can check that out here). I'm sure they'll love that in the coming years.

A friend of mine wanted to take her three grandchildren to this Polar Express event, and asked if I would make tickets for them.

Would I???

OF COURSE!!

Now remember, I've never seen the movie (I'm pretty sure the book had been read to me once upon a time, but that wasn't enough at this point). I Googled away, and came upon this great packet someone else had already made up, and it included the images of the actual tickets used in the movie! I'm not one to reinvent the wheel (why make more work for yourself!?) so I used these:

Reproducible Image from http://www.hmhbooks.com/features/thepolarexpress/pdf/polarpartykit.pdf

Now, here come the part I lllooooooovvvveeee!! Print it on paper? These will be given to kids. Torn and wrinkled in two seconds. Nooo, no, no, no. I had a better idea:


Grungepaper.

Yup, this is going to be awesome.

So. Grungepaper. Never heard of it? It's in the Tim Holtz line of Grungeboard, described as "a thinner form of Grungeboard with the same grungeable properties". Love. It. Completely pliable, able to alter in tons of ways, including writing, sewing, stamping and inking it (like printer ink?? You see where my mind's heading here...)

Off to the printer I went! I used a laser printer, if that matters to you folks, and this is what I came out with:


(I am in love)


I knew that my Stampin' Write markers from Stampin' Up! worked really well on Grungeboard (no pen lines, blends perfectly!), so I tested it on a scrap of the Grungepaper: worked like a charm!! I cut the ticket out and colored it to appear gold (like in the movie, I'm told) and then did some Christmas-y colors on the holly and ivy. The bell got a little daub of Champagne Mist Shimmer Paint


I added a rolled up letter from Santa and some awesomely huge jingle bells to finish it off.


I can't wait to make these for my own kids someday soon!!

Make sure you stop back by tomorrow...I'm giving out one of my favorite creations tomorrow, so I can finally blog about it!! (Can you say MIXED MEDIA?!?)

12.19.2011

Handmade Christmas Giving...Pinterest Style!

Merry Christmas!! I'll probably have another project to post between now and when the Big Guy arrives from Christmastown, but I'll say it now, just in case!

We did a lot of 'name drawing' this year for family Christmases. I love this idea, because it not only simplifies the shopping experience, it gives a little reminder that presents aren't the reason for the season. Along with having a specific person to get a gift for, there was a limit on $$. Twenty dollars used to buy a lot in this world (and I'll stop there, risking sounding like my grandparents).
Anyhow, I was able to find a cute bag to benefit breast cancer (found online here), and it was only half of the budget. I wanted to do something crafty (imagine that), and to get my creativity flowing, I went a-Pinterest-ing for ideas -- and found this yard wrapped letter. I can do that!


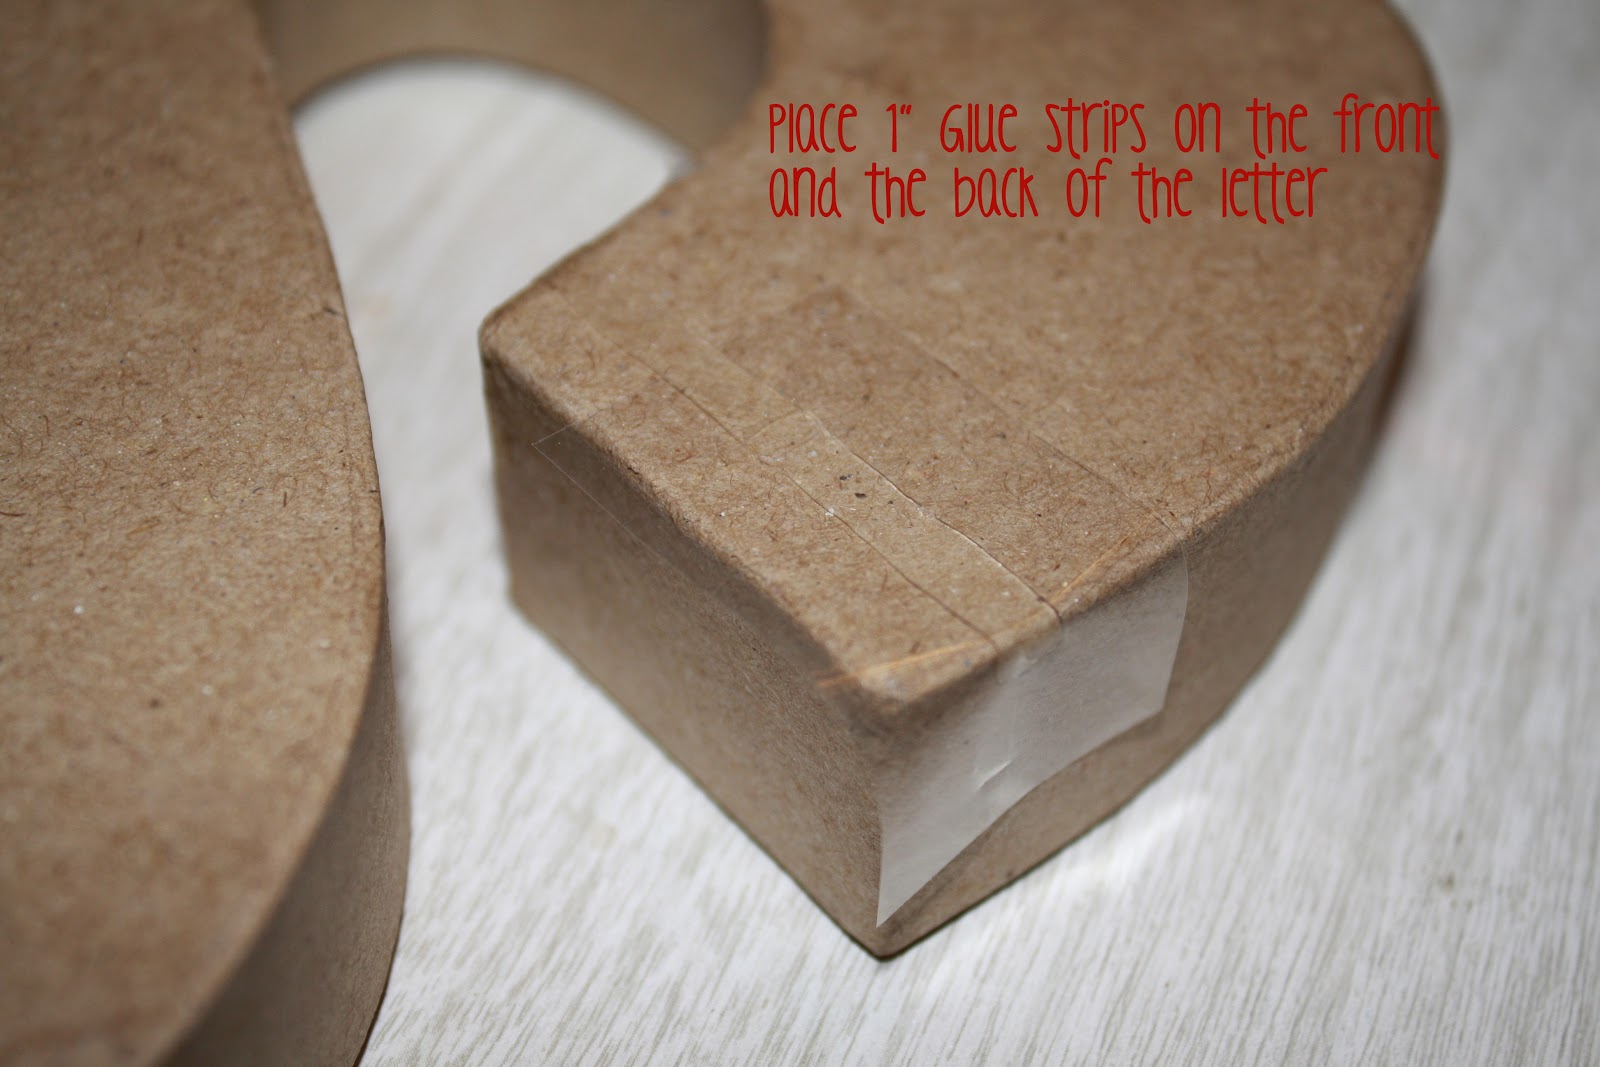
 I used a couple of the Glue Lines occasionally through the wrapping process when my hands needed a break from holding the yarn (or when one of my kids needed me!)


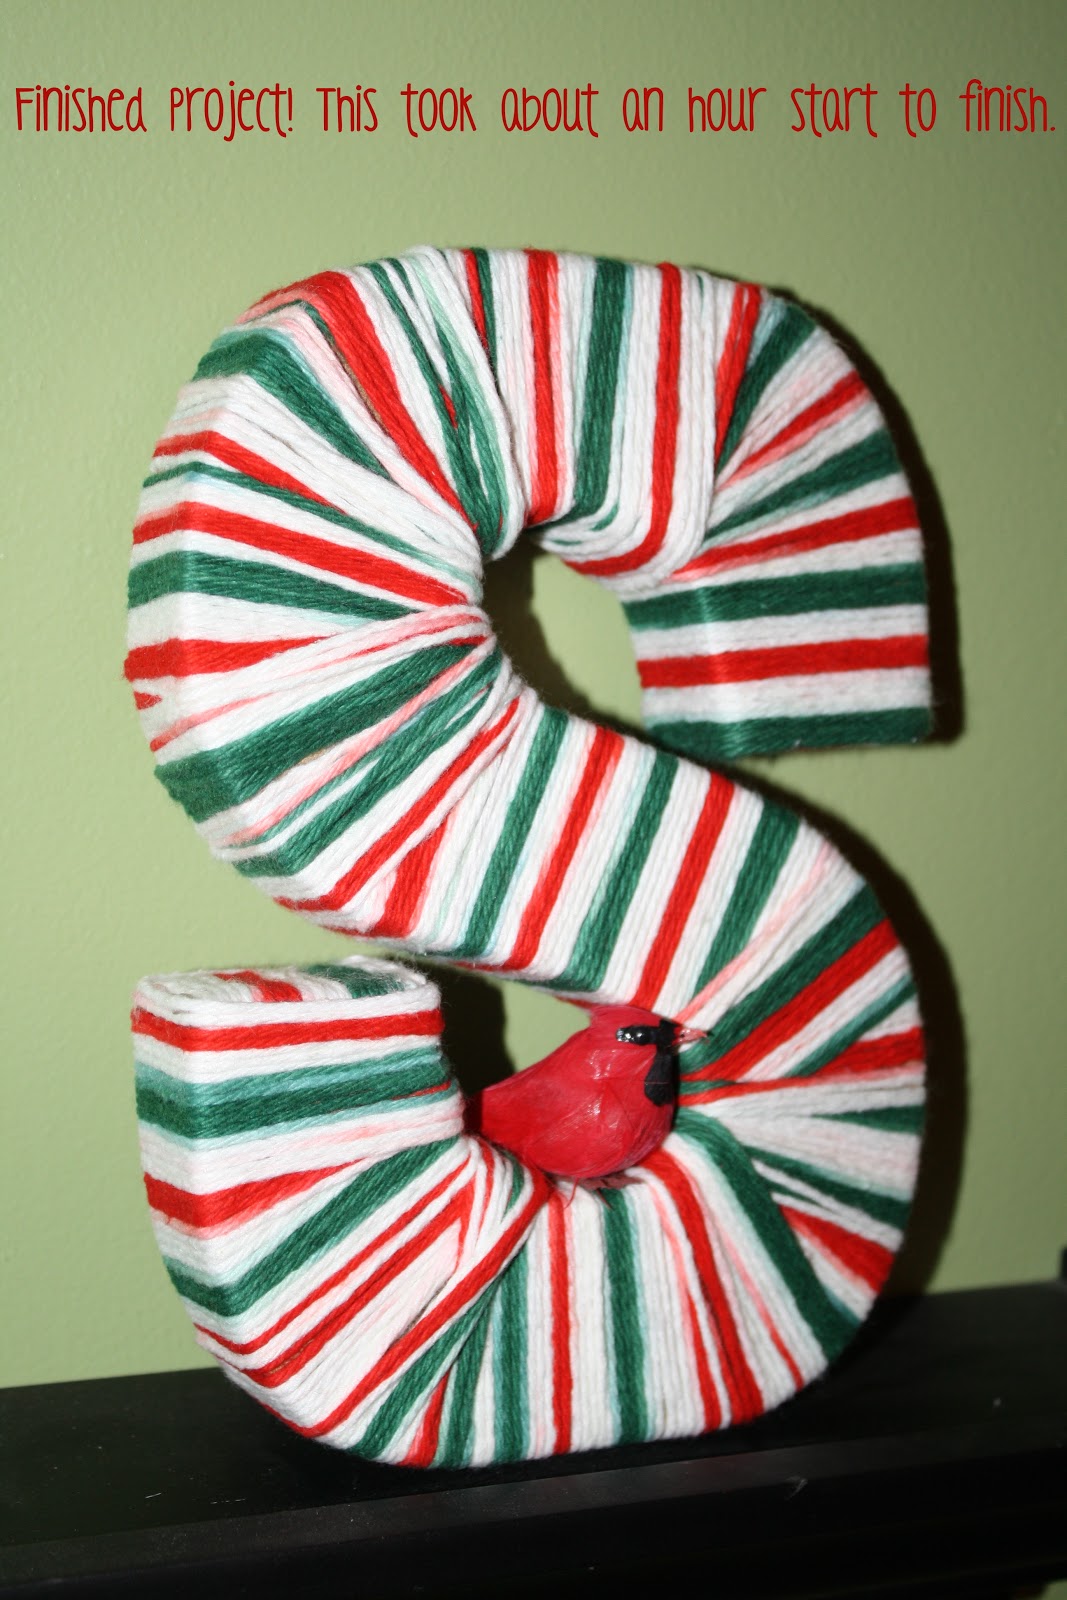
Whew!! Ok, so I was a little ambitious using an 'S' as my first go at this! The curves were admittedly tricky. Too bad her name didn't start with an 'I'...
Anyhow, I added her favorite little cardinal bird onto the bottom of the finished 'S', and here you go:


I love how this turned out, even with the bumpy curves. Using a solid colored instead of the variegated yarn might have hidden my mistakes a little better. I'm sure practice makes perfect for these cute little things! If you're looking for a quick, easy (unless their names starts with an 'S') project, I promise your craft store won't be sold out of yard and paper mache letters like Toys R Us is sold out of Leap Pads!

12.14.2011

A Christmas Card for Friendship's Garden

So I know I've been in a bit of a posting lull...with the Christmas season upon us, time is in fast forward!! I do have a few AWESOME projects up my sleeve, but they're either projects I've made as Christmas presents (and since a lot of my friends read my blog, posting them would spoil their Christmas surprise!!) or they're super fun products I can't share about yet!!
SO! You just be ready...rest up now, while you have the time, because pretty soon I'm going to be going Blogger CRAZY!!! :D


This week at Friendship's Garden we made a free for all card, just incorporate a Winter, Christmas or New Year's theme!! I chose Christmas, and tried to go for a bit of the traditional color palate, but with a twist. I used patterned papers from Stampin' Up!, cut out petal shapes and stitched around the edges with my sewing machine for a bit of texture. I clustered those in the corner and added the Noel bling from Me and My Big Ideas. The background paper is from 7 Gypsies.
All of my elements were adhered with Glue Dots (of course!)


Get your Christmas, New Year or Winter themed cards (without stamping!) posted up to Friendship's Garden, and rest up...MUCH more to come in the weeks to come!!

12.10.2011

Homemade Christmas Gift Blog Hop, Day 2!


Merry Christmas and welcome to the Homemade Christmas Gift Blog Hop, Day Two! You should have gotten here from Carla's blog. If you just happened here and want to start from the beginning, click here to get to her blog.
We have 7 fabulous crafters again today who are going to share some of their ideas for Homemade Christmas gifts. What is better than making something personalized for someone you love.  So sit back and enjoy.

  Here's the lineup!

1. Carla
4.  Barbara B
5.  Lynda
6. Ashley
7. Gina
Now on to my second handmade project!!
 

This little guy is a lot of fun, and you can really personalize it to whatever you want it to be!!
I started with a set of paper mache nesting boxes from my local craft store and painted them white. After that was dry, I dry brushed a light coat of midnight blue. Lastly, I painted the stars on the larger two boxes and the face on the smallest box.


You can pack these boxes with cookies or other treats and be the hit of the party.
I hope you've enjoyed these homemade goodies and gotten some great ideas for your next Christmas gift!

12.09.2011

Homemade Christmas Gift Blog Hop

Merry Christmas and Welcome to the Homemade Christmas Gift Blog Hop. You should have gotten here from Carla's blog. If you just happened here and want to start from the beginning, click here to get to her blog.
Today we have 7 fabulous crafters who are going to share some of their ideas for Homemade Christmas gifts. What is better than making something personalized for someone you love.  So sit back and enjoy.  And make sure you come back to see what they’ve created on both days.
 
Here's the lineup!
1. Carla
4.  Barbara B
5.  Lynda
6. Ashley
7. Gina


Now on to my first handmade project!!


I made this simple mitten garland from two old sweaters I had from years past. They're so (sew) easy!!! :)


 Step One: Cut out mitten shape from sweater (be sure to leave the 'cuff of the mitten' along a finished edge of the sweater - either the sleeve or waist band). Cut both layers of the sweater (front and back) at the same time.

Step Two: Machine or hand stitch along the edges of the two mitten pieces together. Turn the band down to form the cuff of the mitten.

Step Three: String coordinating buttons along wire, adding the mittens as you go (the wire will string right through the knit of your mittens!). 


Easy, simple and cute! (and refurbishing!!)


Be sure to head over to JulieK's blog next, and stop back by tomorrow for more handmade inspiration!!

12.07.2011

New Garden Girls and a bonus video!

Hey!! Sorry posts have been so infrequent! Things around here are crazy with Christmas.

I have some great news from Friendship's Garden! We announced our new design team members today in this post. Congratulations, Jamie, Chana, Sam and Sharon!!!! You'll start seeing their work in January. I personally can't wait!

Also, it's a bonus week at Friendship's Garden! Check out CherylAnn's amazing video on making these great tags here!!


Until next time....Merry Christmas!!

12.01.2011

Another Quick Christmas Card!

I love Christmas cards. I really do!! While store bought cards are nice and thoughtful, a hand made Christmas card brings a smile to my face. It amazes me that someone went through the time and effort - for me!!

I threw this together last night for a coworker's care package going overseas. I love using pre-designed paper for a cute background! The cardinal and holly paper is DCWV, accompanied by some SU! striped paper and rub-on. I added some Twinery twine for a splash of detail!

So remember, in your holiday preparations this year, a hand made card warms the heart like none other :)